General Orchid Care
The Ideal Orchid Environment
From Espresso Orchids to hanging Vandas, Silver Vase has a wide variety of orchids to choose from. We have specific care instructions available to you for each type of orchid here.
Although there are different care instructions for each type of Orchid, generally Orchids respond to the same kind of environment.
To help create the ideal environment for your Orchid, you need to consider light and temperature:

Light
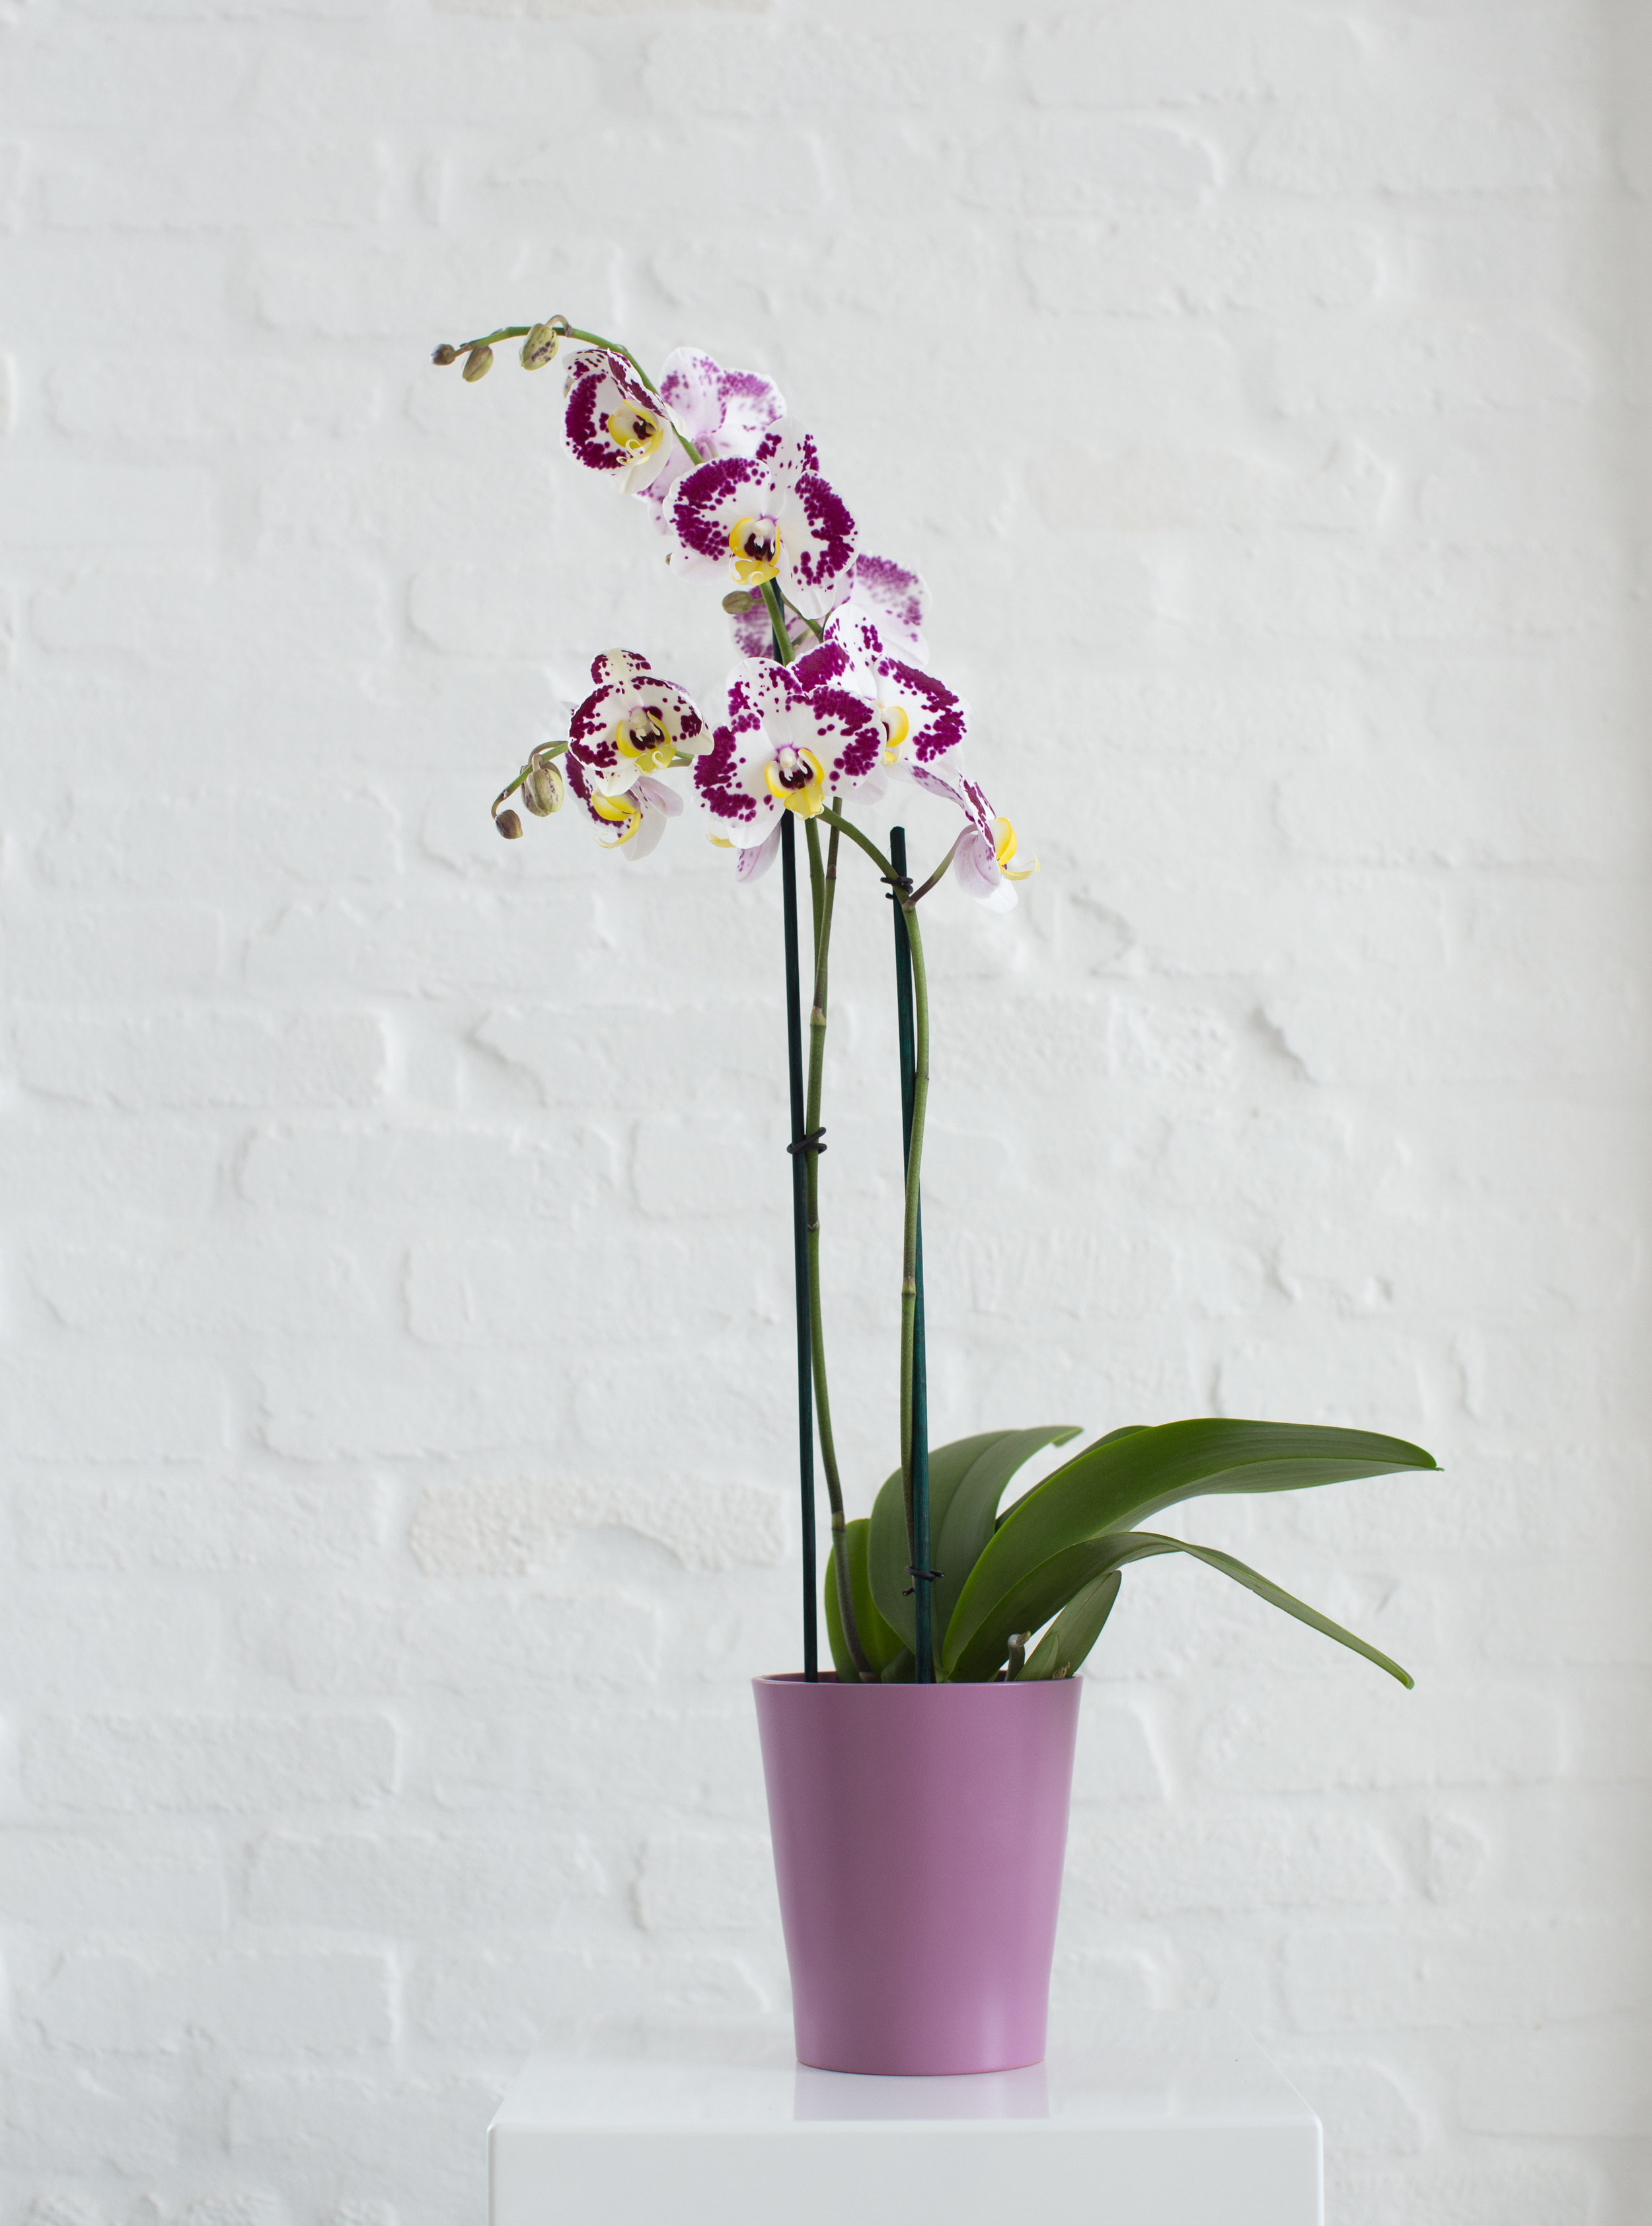
Keep your Orchid in a spot where it will receive some indirect light and shade throughout the day - such as a windowsill.
Your Orchid will also be healthy in a shady environment.
Be careful to keep the Orchid away from direct sunlight which can dehydrate or burn the plant.

Temperature
The ideal temperature for your Orchid be at its healthiest is between 65F – 75F (18C - 23C).
Keep your Orchid away from strong drafts in the natural environment or from air conditioning. Direct drafts can cause the plant to dehydrate. When this happens, you will notice it first in the flower which will start to wilt early.
You can keep your Orchid outside during the Summer months as long as it is in a shaded area. If the temperature outside gets below 60F/ 15.5C bring your Orchid inside. To learn how to tie your Orchid to a tree, find step-by-step instructions on our blog, The Orchid Corner.
The ideal humidity for your Orchid is 70% - 80%. Make sure to adjust watering your Orchid depending on the humidity in your home. You can purchase a hygrometer or indoor humidity monitor that can test your home's humidity level.
General Care Instructions
Orchid care begins at the roots.
Orchid roots are designed to absorb and feed, and their nutrients come from both air and water. Allowing roots to completely dry out before watering again is important. Good root health will lead to more spikes and flower buds in your Orchid. When your Orchid is healthy, the roots are strong and green, and the leaves look shiny and feel firm to the touch.
Too much or too little water are often the reasons for many Orchid care issues. An Orchid pulls the water it needs from the roots. Dehydration means not enough water is going up to the Orchid from the roots. On the other hand, too much water can overwhelm the roots.
We recommend watering early in the day to ensure that the plant and its flowers will be dry by nightfall. Never allow blooms or foliage to remain wet overnight.
The following are general care guidelines and information to help your Orchid thrive.
For specific care instructions for your type of Orchid, find your orchid type.
Orchid Bloom Lifecycle
Your Orchid has two phases: generative and vegetative. During the generative phase your Orchid will be blooming. During the vegetative phase, it will be hibernating and the blooms have fallen. Your Orchid exists in this constant loop of generative and vegetative.
You can expect your Phalaenopsis Orchid to bloom for a period of about 8 - 12 weeks.
Keep in mind that if your Orchid is fully bloomed at the time of purchase, this will impact how long the blooming cycle will last in your own space.
You can help your orchid bloom at the longer end of the range (12 weeks) by monitoring the environment and keeping the right orchid care routine.
Vandas and Dendrobiums have a life cycle of about 3-5 weeks of blooming.
After Blooming Ends
When your Orchid blooms have all fallen and it has completed the cycle and entered the vegetative phase (“sleeping” cycle). Your Orchid is still very much alive! It is getting ready for the next cycle.
With the right environment and care, you can expect your Orchid to re-bloom anytime from 4 months to 18 months.
It is definitely a wide range! Where your Orchid falls on the range will depend on the kind of Orchid you have, the environment and care.
When the blooms have fallen, we recommend that you cut the spike of your Orchid (see below).
The care for your Orchid - for watering and fertilizing - once the blooms have fallen will be the same as it is during the blooming cycle.
Once your Orchid re-blooms, the 8 - 12 week cycle will typically repeat.
CUTTING THE SPIKE
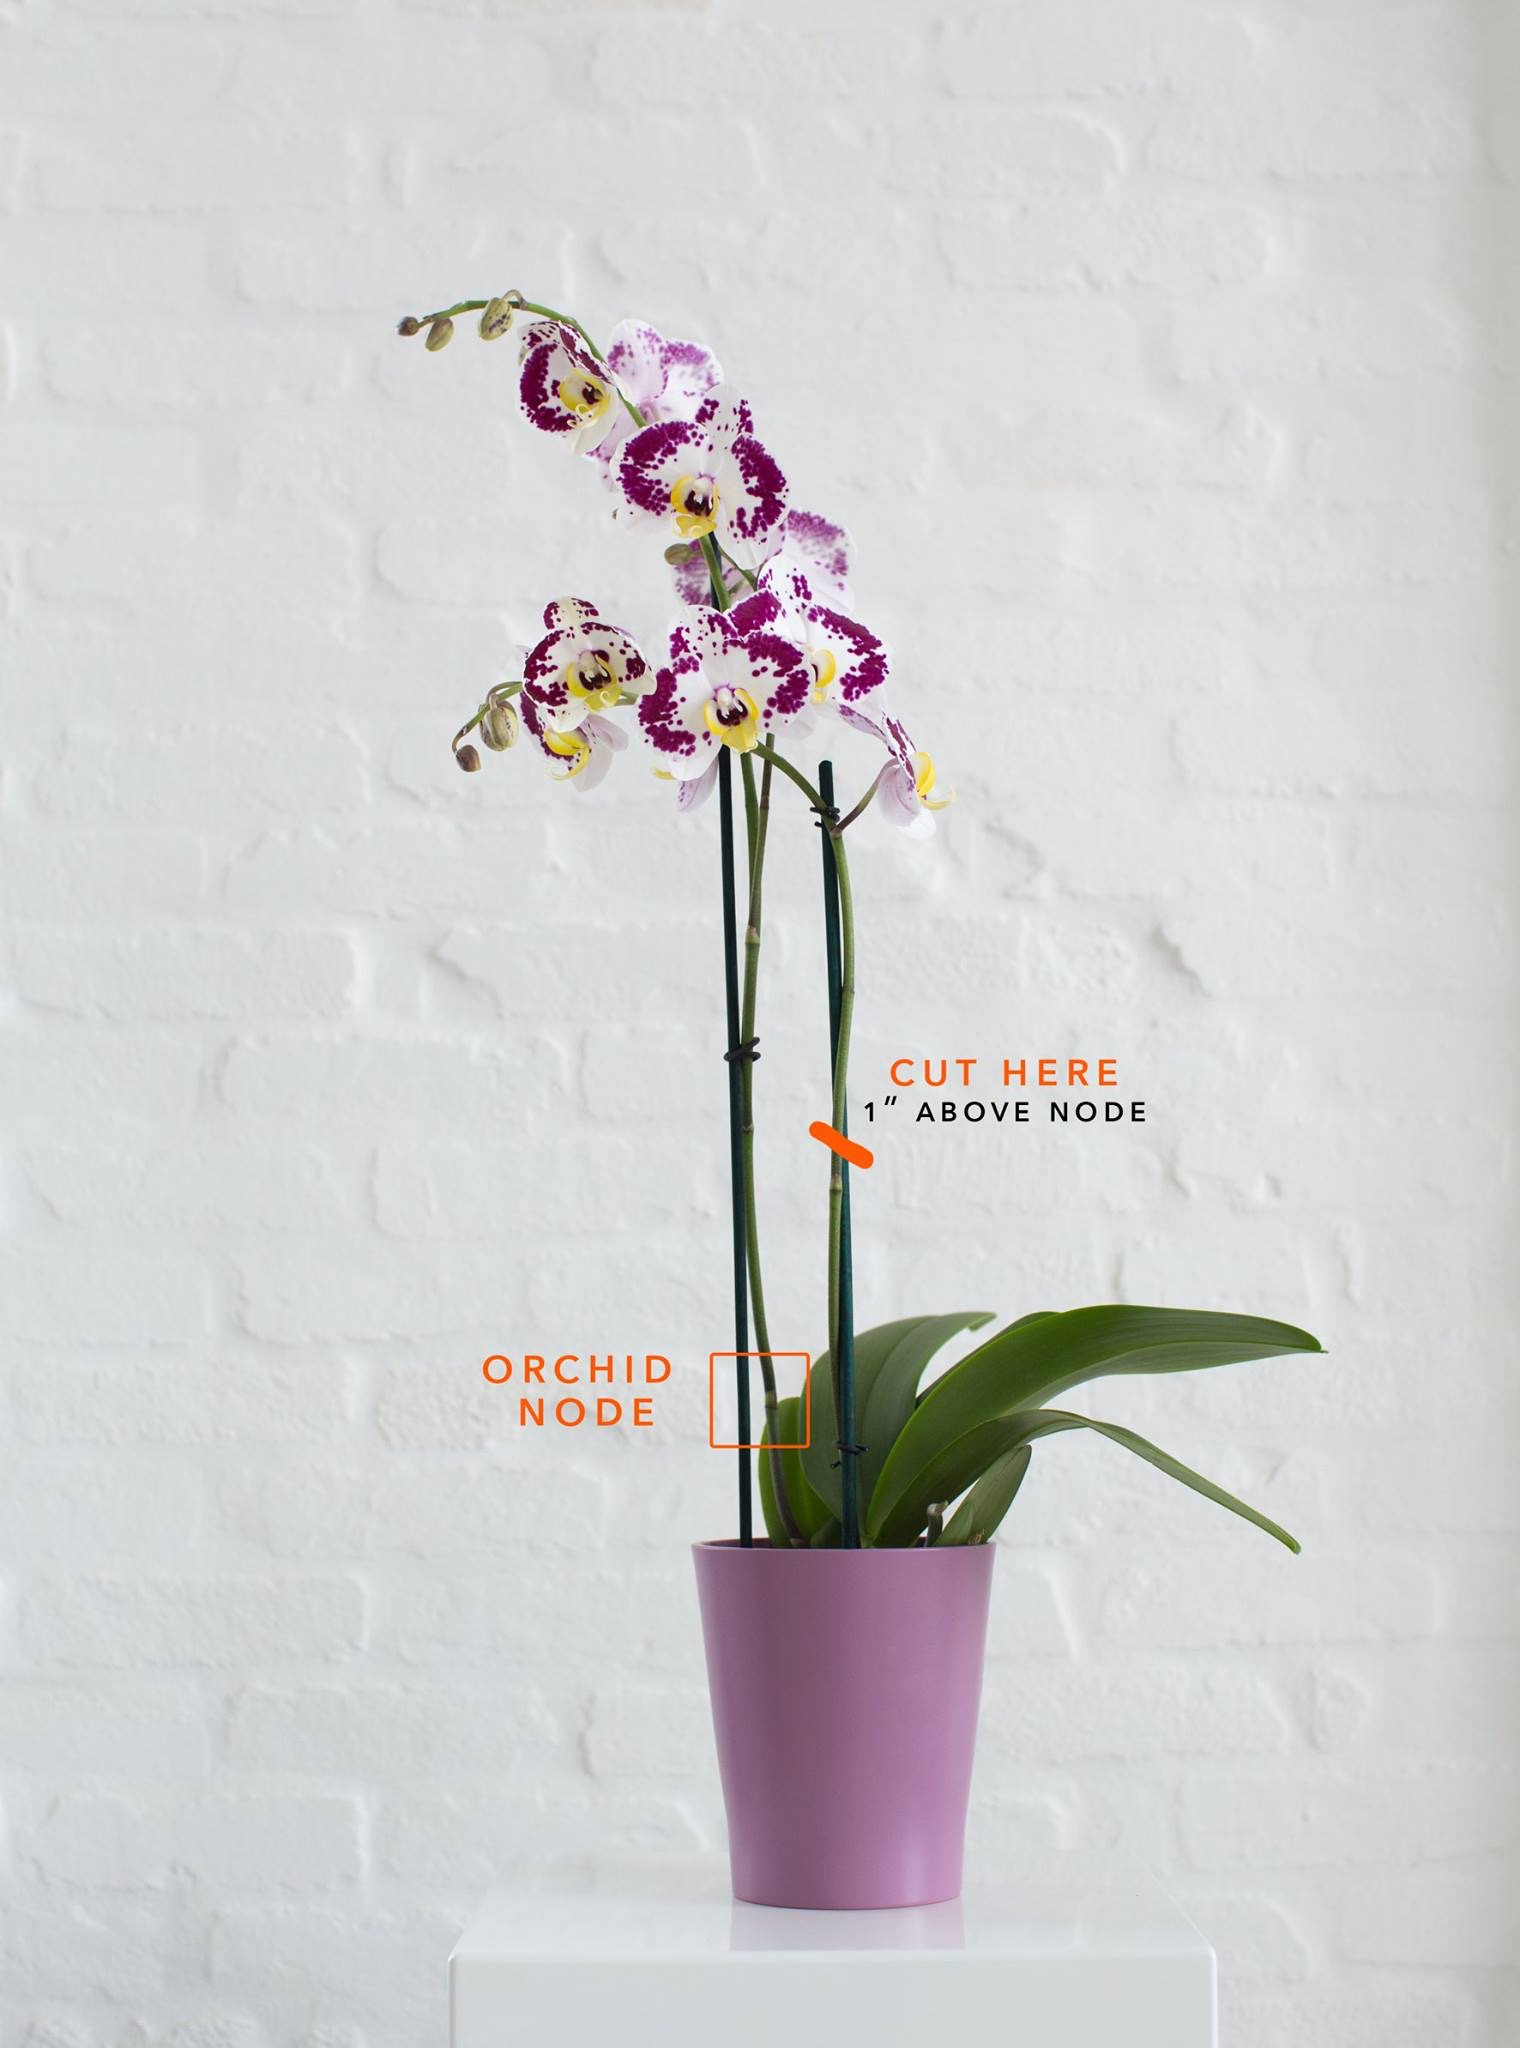
Immediately after the last bloom of your Orchid falls, we recommend that you cut the spike.
You can sterilize scissors with alcohol and cut between the first and second node, as indicated below.
This will apply to both Phalaenopsis and Vanda Orchids.
For any Orchids that are part of an Orchid garden arrangement, you’ll be removing each individual Orchid plant from the arrangement in order to care for it post-blooming. Your spike may brown at this point.
Continue watering once a week and follow the directions of your fertilizer.
REPOTTING YOUR ORCHID
Orchid roots are naturally going to peek out of the decorative pot. They are seeking oxygen and are perfectly healthy when they’re not contained within the pot.
When you start to see more roots than medium (i.e., moss or bark), then it’s time to repot your Orchid.
Wait until the blooms have fallen so as to not disrupt the plant.
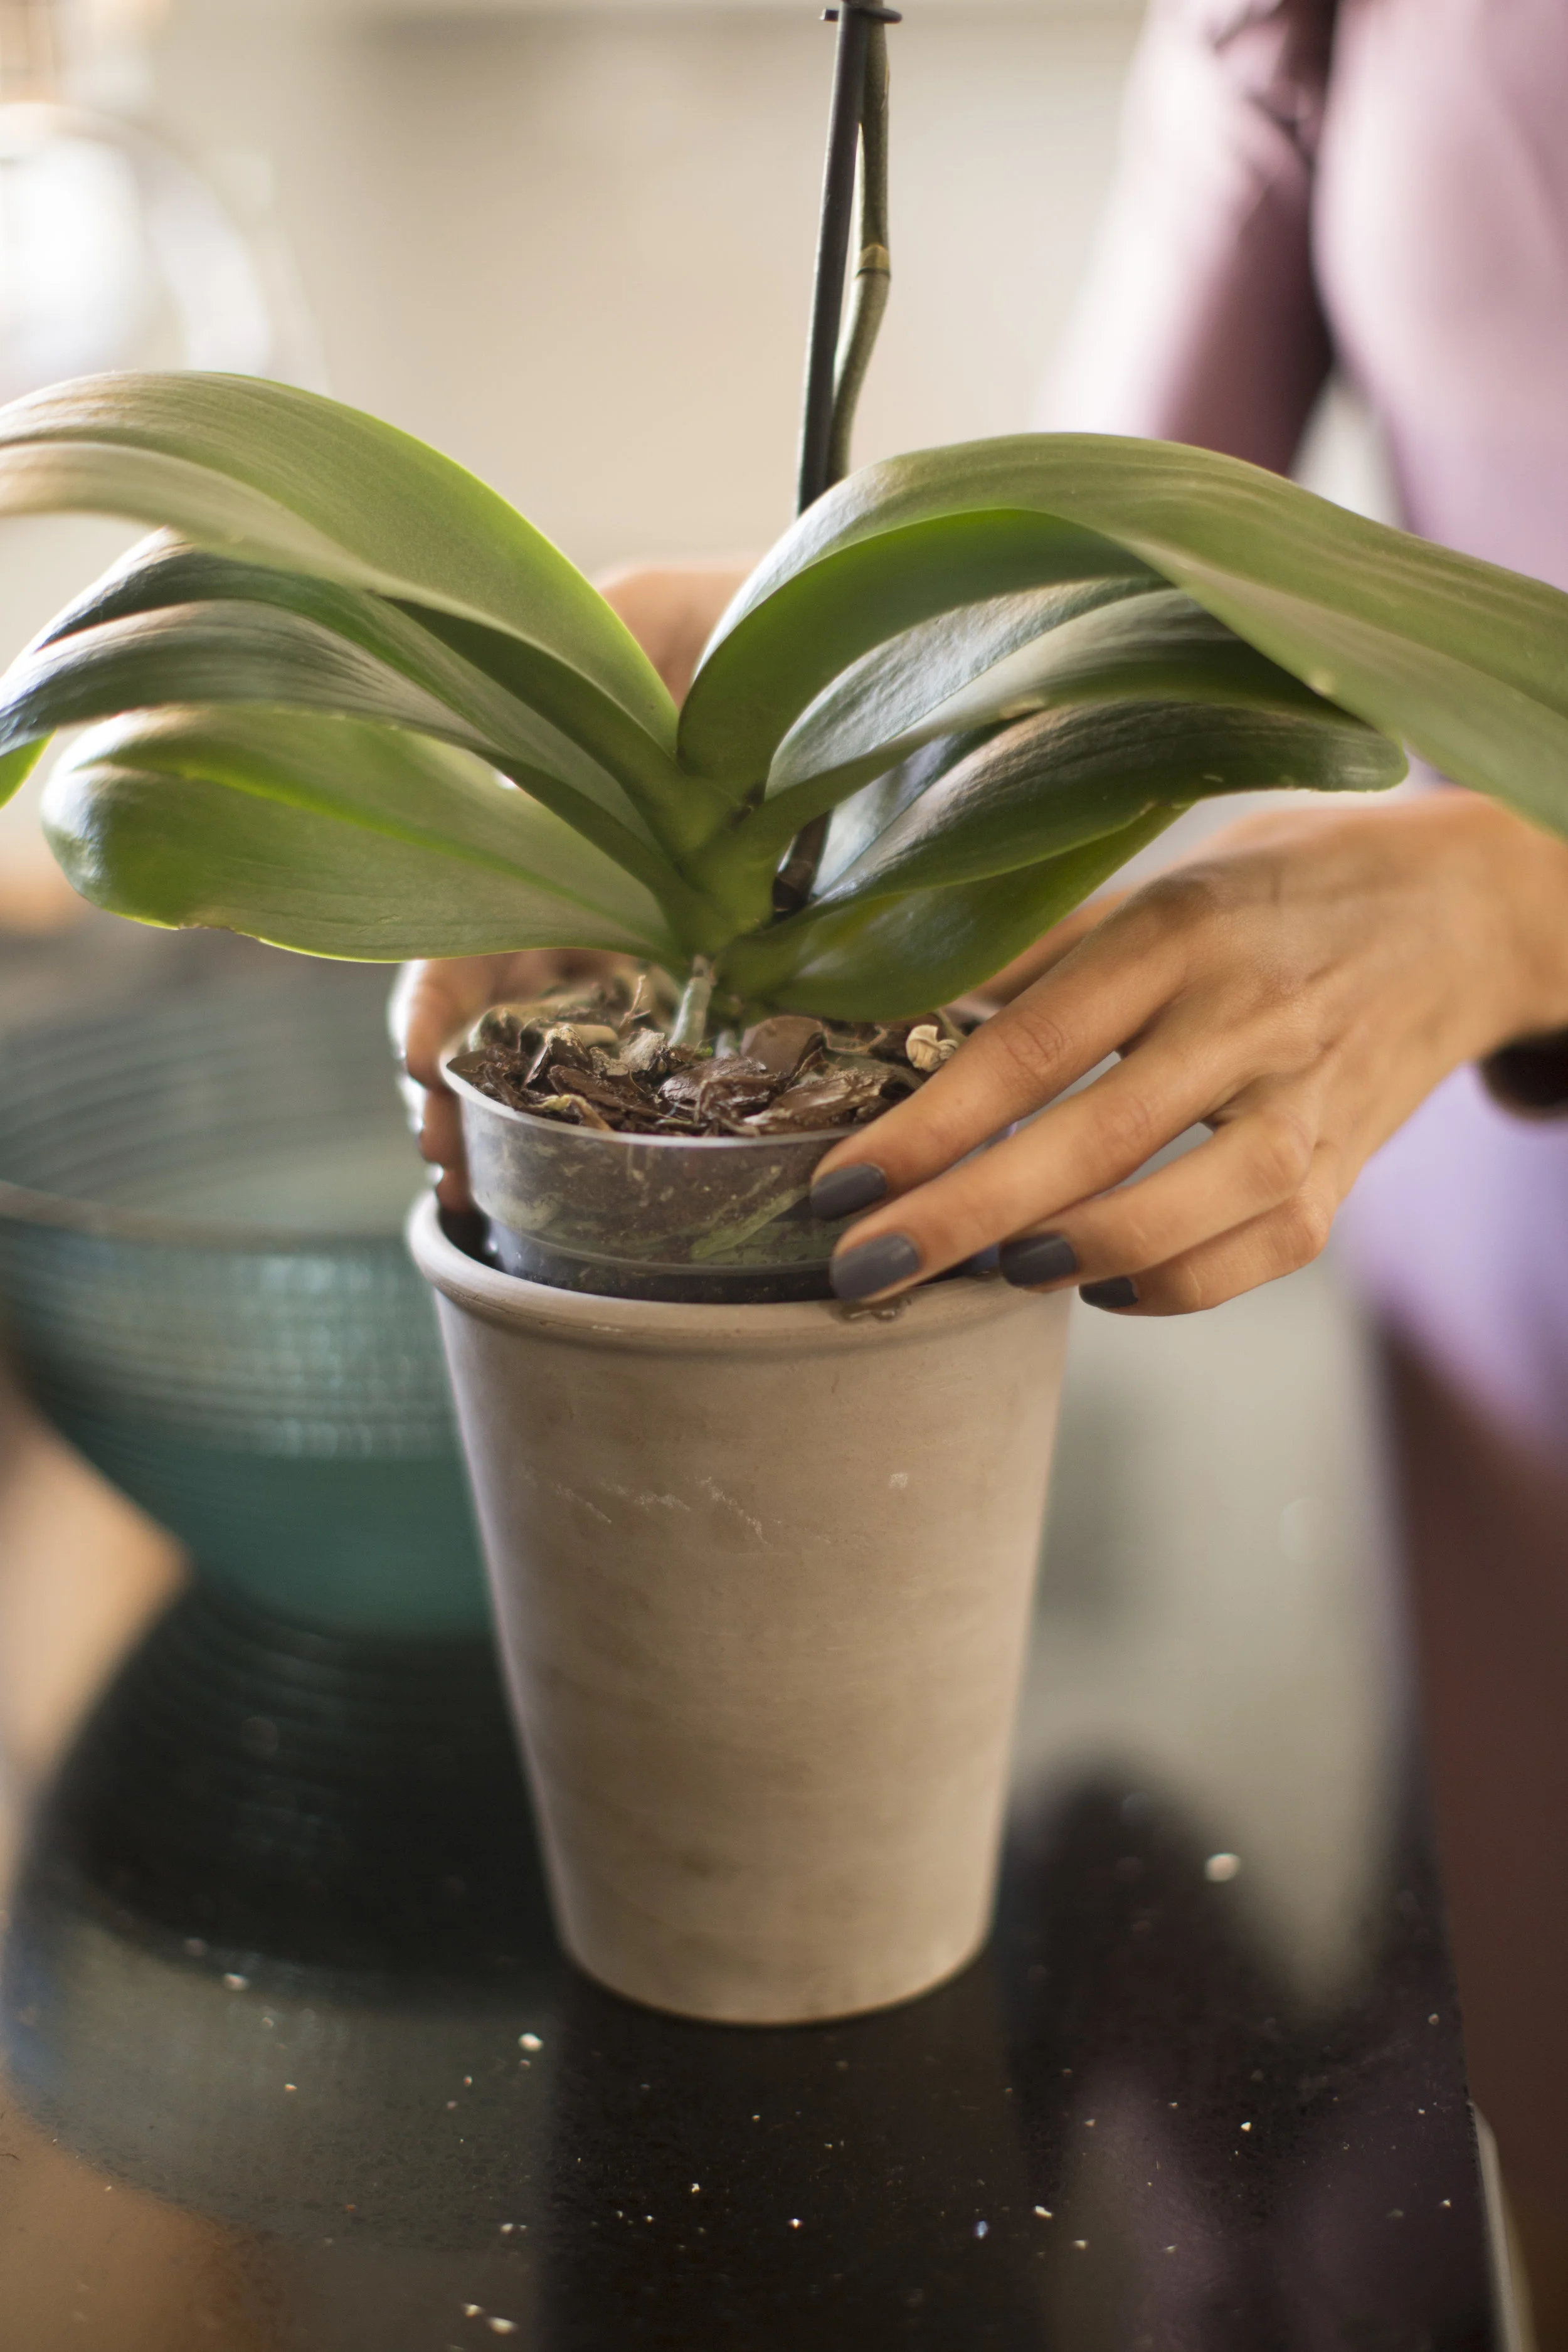
You’ll need a plastic grow pot that is one size up from your current pot. You’ll also need Orchid medium like bark for your new pot.
Carefully remove the Orchid from the plastic grow pot without shaking it off. Place it in the new grow pot and add the medium, without pushing it in. Continue your usual watering schedule.
You can “repot” a Vanda Orchid. A Vanda is not typically potted in the traditional sense, so it can be “repotted” by moving the plant over into another vase. However, never cover the roots with any medium.
If you live in a warmer part of the country where the temperature rarely falls under 60F, you can also consider tying your Orchid to a tree after blooming. Find step by step instructions on our blog, The Orchid Corner.